The check-in process is crucial in short-term rentals. Hosts usually need to communicate important information to guests, arrange key handoff or provide smart lock codes, which can be overwhelming. Aurmur simplifies this by automating the check-in process. Aurmur communicates with guests through app message, text, or email, generates a code, activates it before check-in, and deactivates it after check-out.
The setup process is typically straightforward, with these following steps.
Step A: Set up SmartThings hub and account.
Step B: Install smart lock on the front door and add the lock to the SmartThings account. It is recommended that hosts hire a locksmith, so the smart lock is installed correctly. For more details about SmartThings, please visit this Aurmur’s blog “Onboarding SmartThings”
Step 2: Go to ACCOUNT > EXTERNAL to link your Airbnb and/or VRBO/HomeAway accounts with Aurmur.
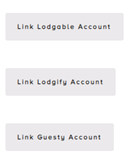
Note: Aurmur integrates with a variety of short-term rental property management platforms such as Guesty, Lodgable and Lodgify which you can link to.
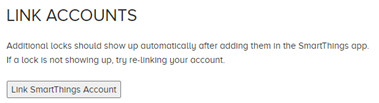
Step 3: Go to LOCKS > SETUP to link the SmartThings app (set up in Step A) and lock (set up in Step B) with Aurmur
3.1. Click “Link SmartThings Account” to link SmartThings account
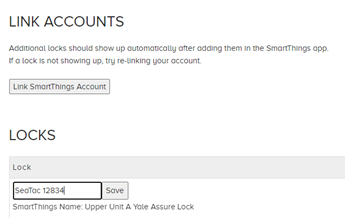
3.2 After that, the lock will show under LOCKS. You can then give it a custom name to differentiate it from any other locks that you may add in the future. This will make it easier to identify and control the lock on Aurmur. Click “Save” after changing the Lock name
2. Set up the Listing (Step 4 to 6)
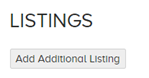
Step 4: Go to LOCKS > LISTINGS to link a listing to the lock. Click “Add Additional Listing”
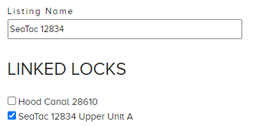
Step 5: Give the listing a name under “Listing Name” and click on the corresponding lock under LINKED LOCKS
Step 6: Link the lock with the corresponding Airbnb and/or VRBO/HomeAway listings by checking the box in front of the listing
3. Automate Email, App Message and Text Message (Step 7 to 9)
Step 7: Email automation
7.1 Enable “Guest Email” automation feature by clicking “Yes”
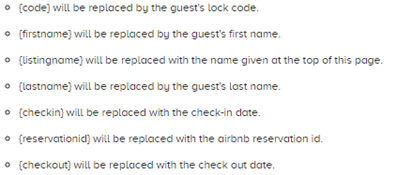
7.2 Fill in the email template using these following variables
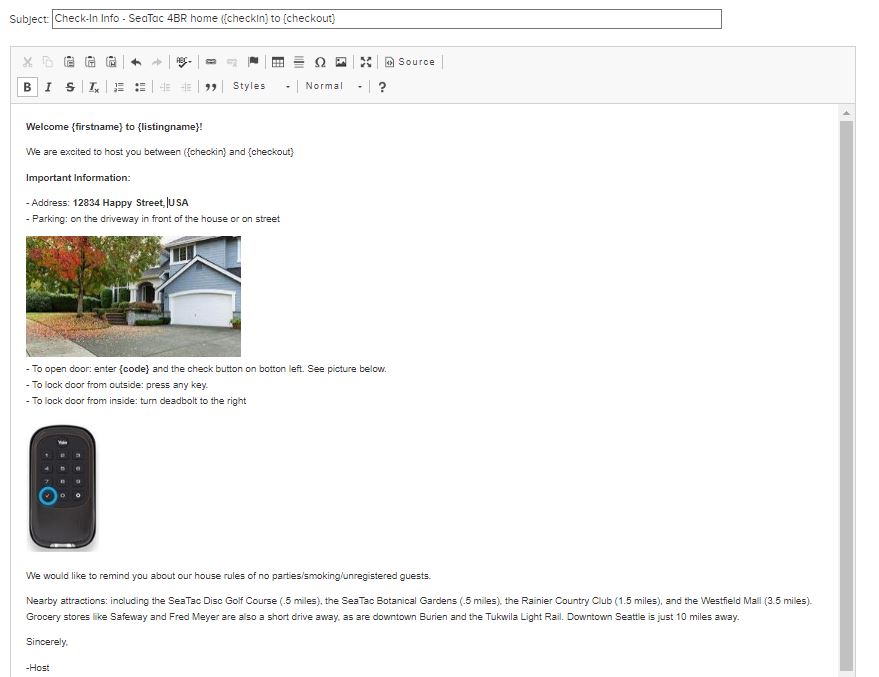
Here is an example of a complete email template. This Guesty’s blog provides suggestions on what to include in a welcome email.
Step 8: Airbnb app message automation
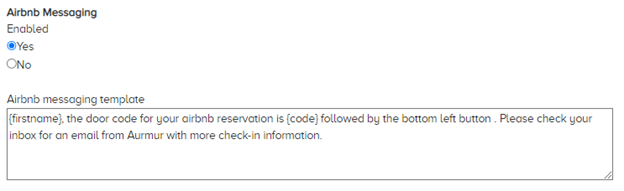
8.1 Enable “Airbnb Messaging” automation feature by clicking “Yes”
8.2 Fill in “Airbnb messaging template” using the same variants in step 7.2.
Step 9: Text message automation
9.1 Specify the time on check-in day to send the text message to the guest’s phone number
9.2 Fill in “Text message template” using the same variants in step 7.2.
* To turn off automation for emails and Airbnb messages, select “No” for the corresponding “Enabled” option. To turn off automation for text messages, select “Disabled”
4. General settings (Step 10)
Aurmur allows codes to be either randomly generated or customized – based on guest’s phone number. To learn more about custom codes and how to set them up, refer to Aurmur’s blog “Custom Codes” for detailed information
Step 10: Choose the appropriate settings for your listing and then, click “Save” at the bottom to activate the changes.
5. Set up notifications (Step 11)
Aurmur offers a wide range of notifications such as code activation, deactivation, battery life etc. for hosts to choose from, allowing them to customize their experience and determine how much they want to manage their property.
Step 11: Go to LOCKS > NOTIFICATIONS to set up the appropriate notifications for your Aurmur’s account
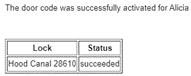
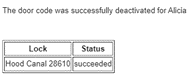
Here are examples of code activation and deactivation email notifications.
To understand Aurmur’s functionality from a guest’s perspective, please refer to this Aurmur’s blog.